Creating document headings
Once the document has been created you can start to create document headings, if you have used a template or copied from a previous document/tender you can edit the existing headings.
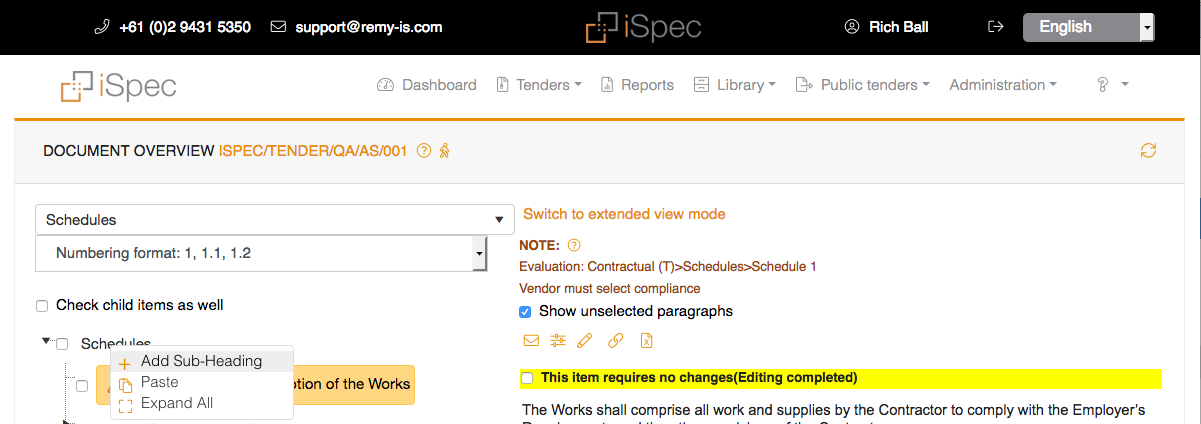
To start right click on the document name to see the context menu and click Add a new sub heading.
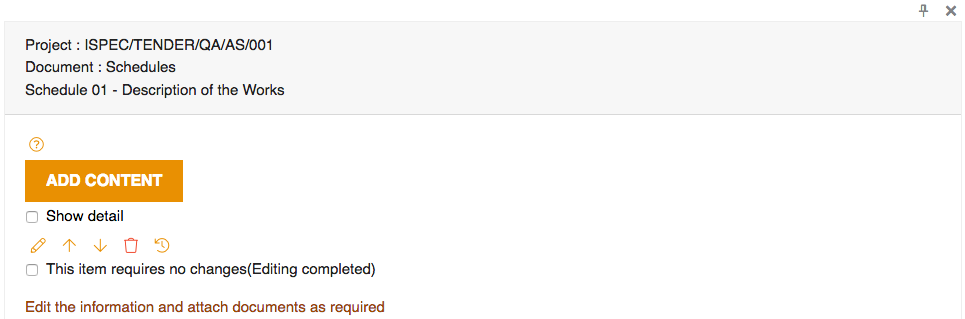
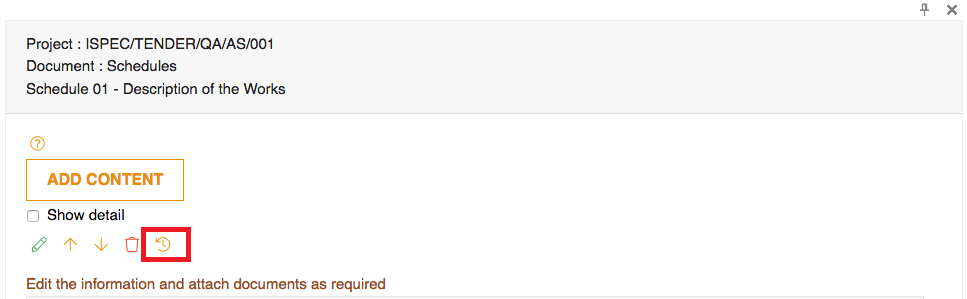
In the content panel click the pencil icon to create your paragraph.
When the pop up shows click the Add content button and add content to your document.
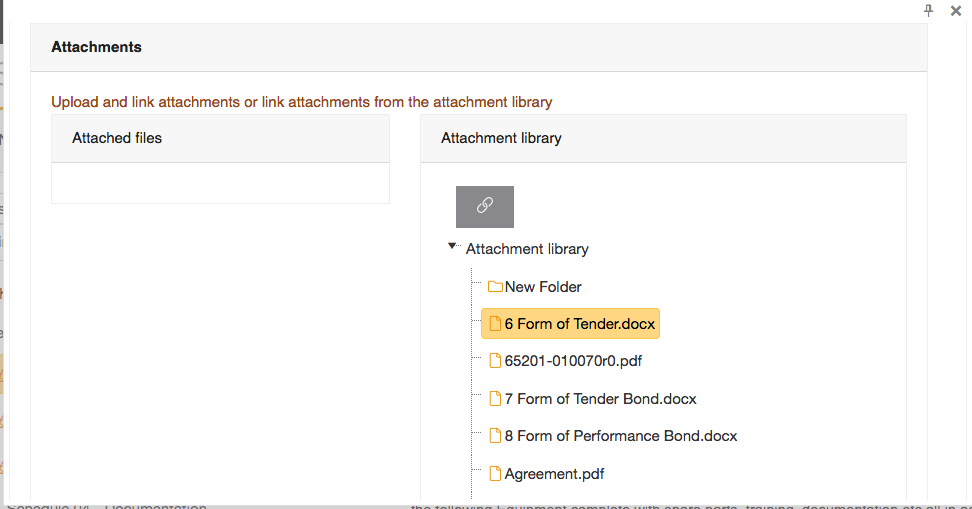
When adding attachment you can
-
Attach files - Upload and attach files directly from your PC.
-
Attach files and add to the library - Upload attachments from your PC and also add them to the attachment library.
-
Add file to library - Adds any attachments to the library without attaching them to the document.
-
Attach from library - Opens the attachment library and allows you to attach a attachment to your heading.
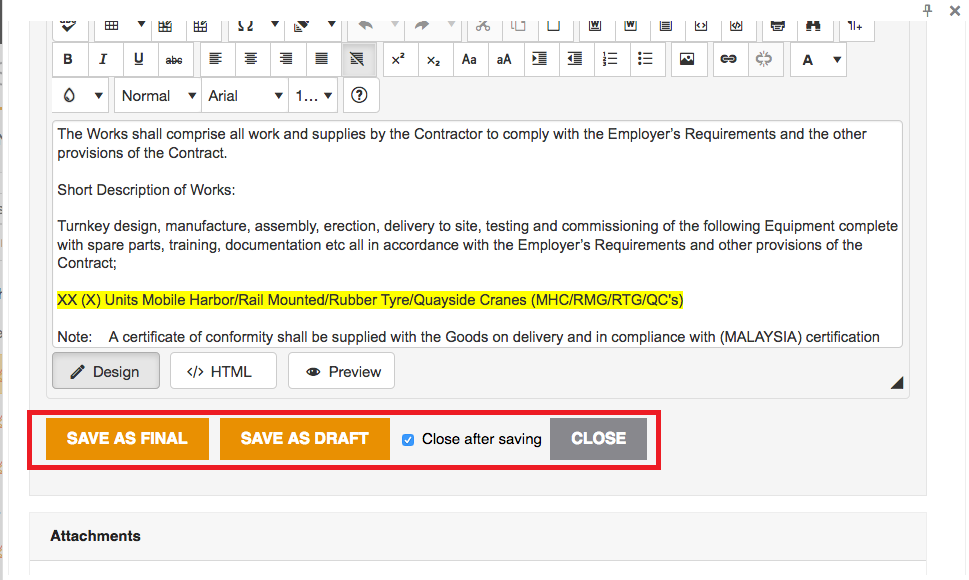
When you have created your heading you can choose to Save as final or Save as draft. If the heading is saved as final then it will change black and the pencil icon will show
If the item is not complete then you can save the heading as a draft when the item is in draft mode the heading will stay red and tan alert icon will show until the heading is completed and saved as final.
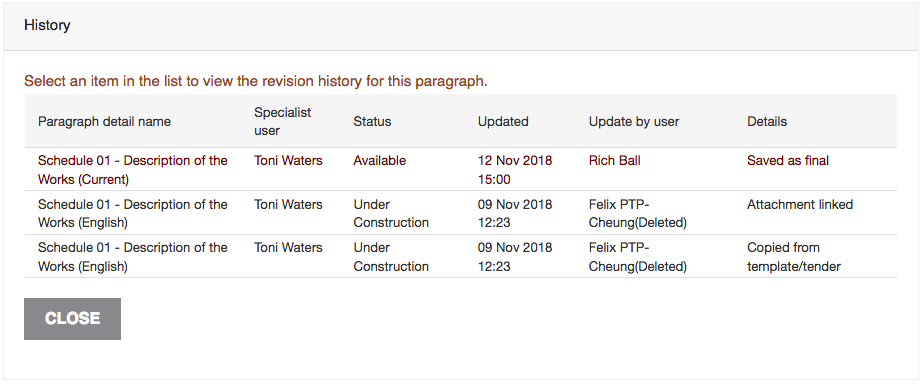
Every time a user saves the paragraph as a draft or as final a historical record is created to see the following information:
Create as many headings as you wish to complete your document.
Editing document headings
If you have created your tender from a template or copied an existing tender/document then you need to edit your headings to complete them.
All headings will have a red pencil next to them to indicate they are not complete
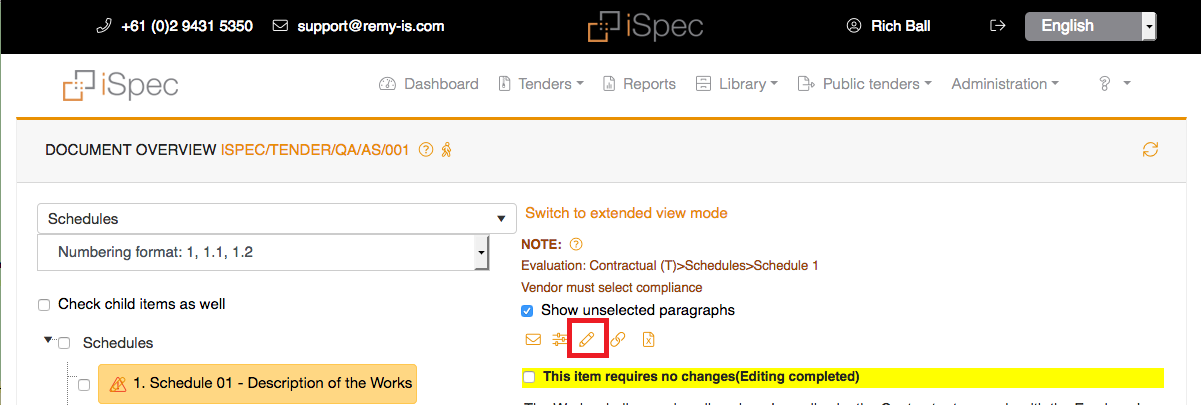
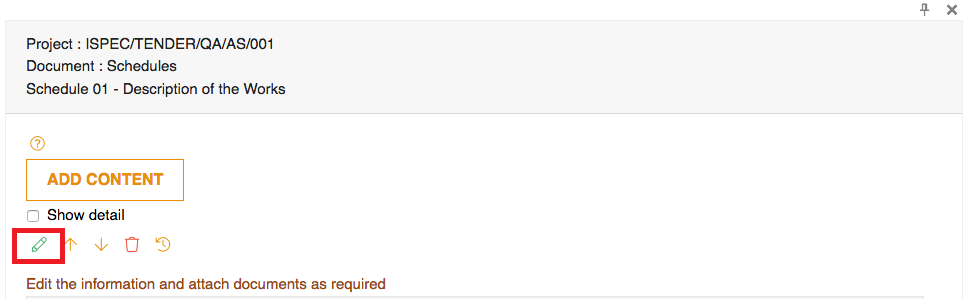
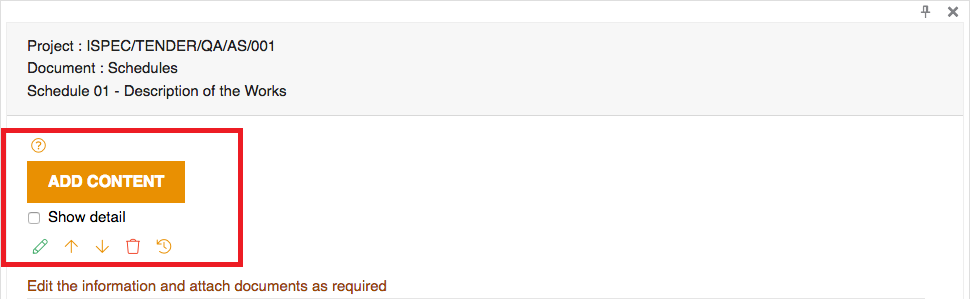
Click on a heading to show the content panel, the content panel consists of 4 icons
Envelope icon - Click the envelope icon to send or view historical correspondence, the messaging system is used to discuss this document/heading internally or between the two parties (customer and vendor).
Response settings icon - Click the settings icon to edit the internal or external settings for that heading
Pencil icon - Click the pencil icon to add or edit paragraphs
Link icon - Click the link icon to link an clause from the library to your heading.
To edit the current content click on the pencil icon.
To add a new paragraph, click the Add content button or click the link icon and choose a clause from the library. You may also import data from a spreadsheet. (see importing data).
Use the up and down buttons to change the order of existing paragraphs and the delete button to remove it from the document.
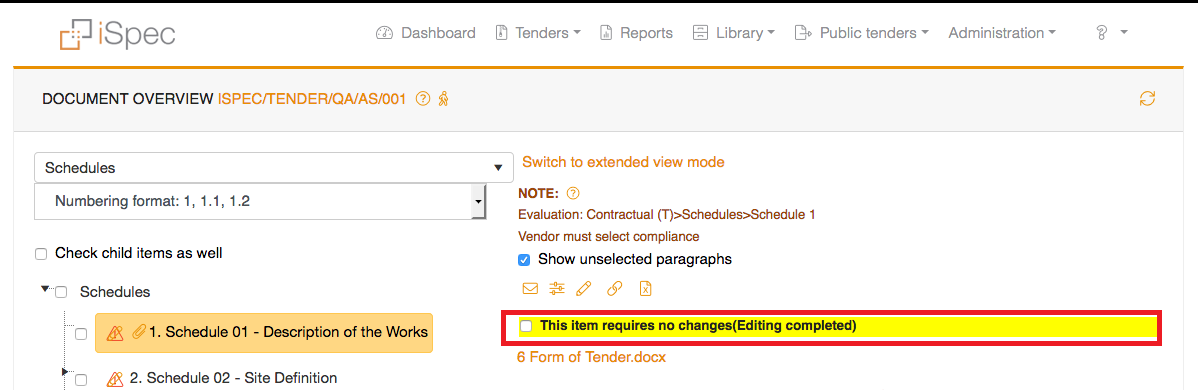
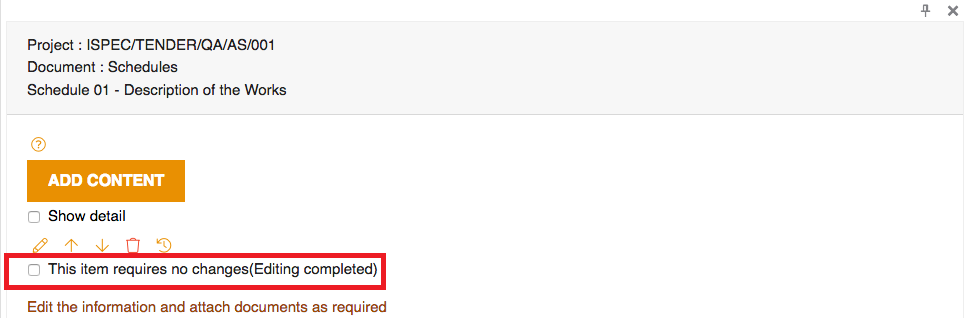
If the item does not require any further editing then you can check the 'This item requires no changes' and the item will be complete.
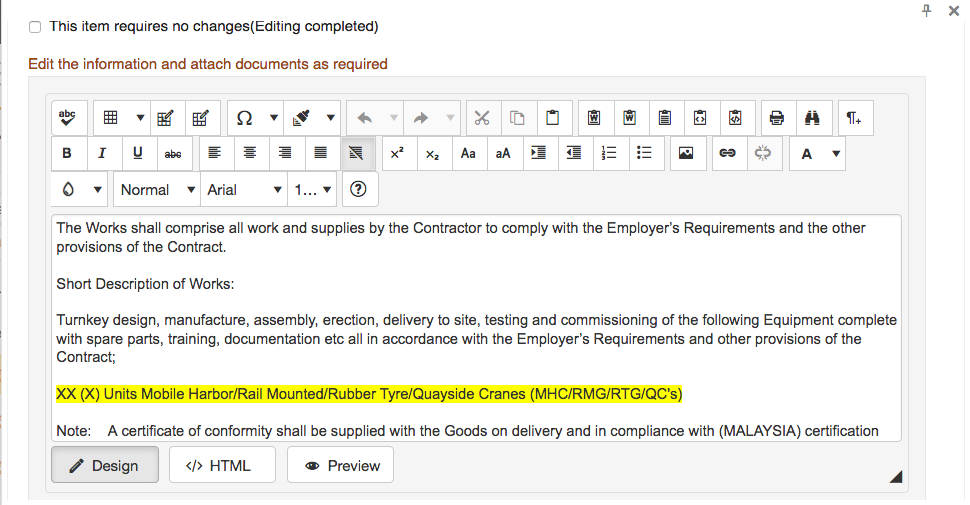
If the paragraph needs editing further then click the pencil icon. You can enter text ,images, create tables, insert images and attach files.
When you have finished editing the heading you can click 'Save as final' or if the heading needs further editing at a later date you can click 'Save as draft'
Or if the paragraph doesn't need editing you fan click the This item requires no changes (Edited completed).
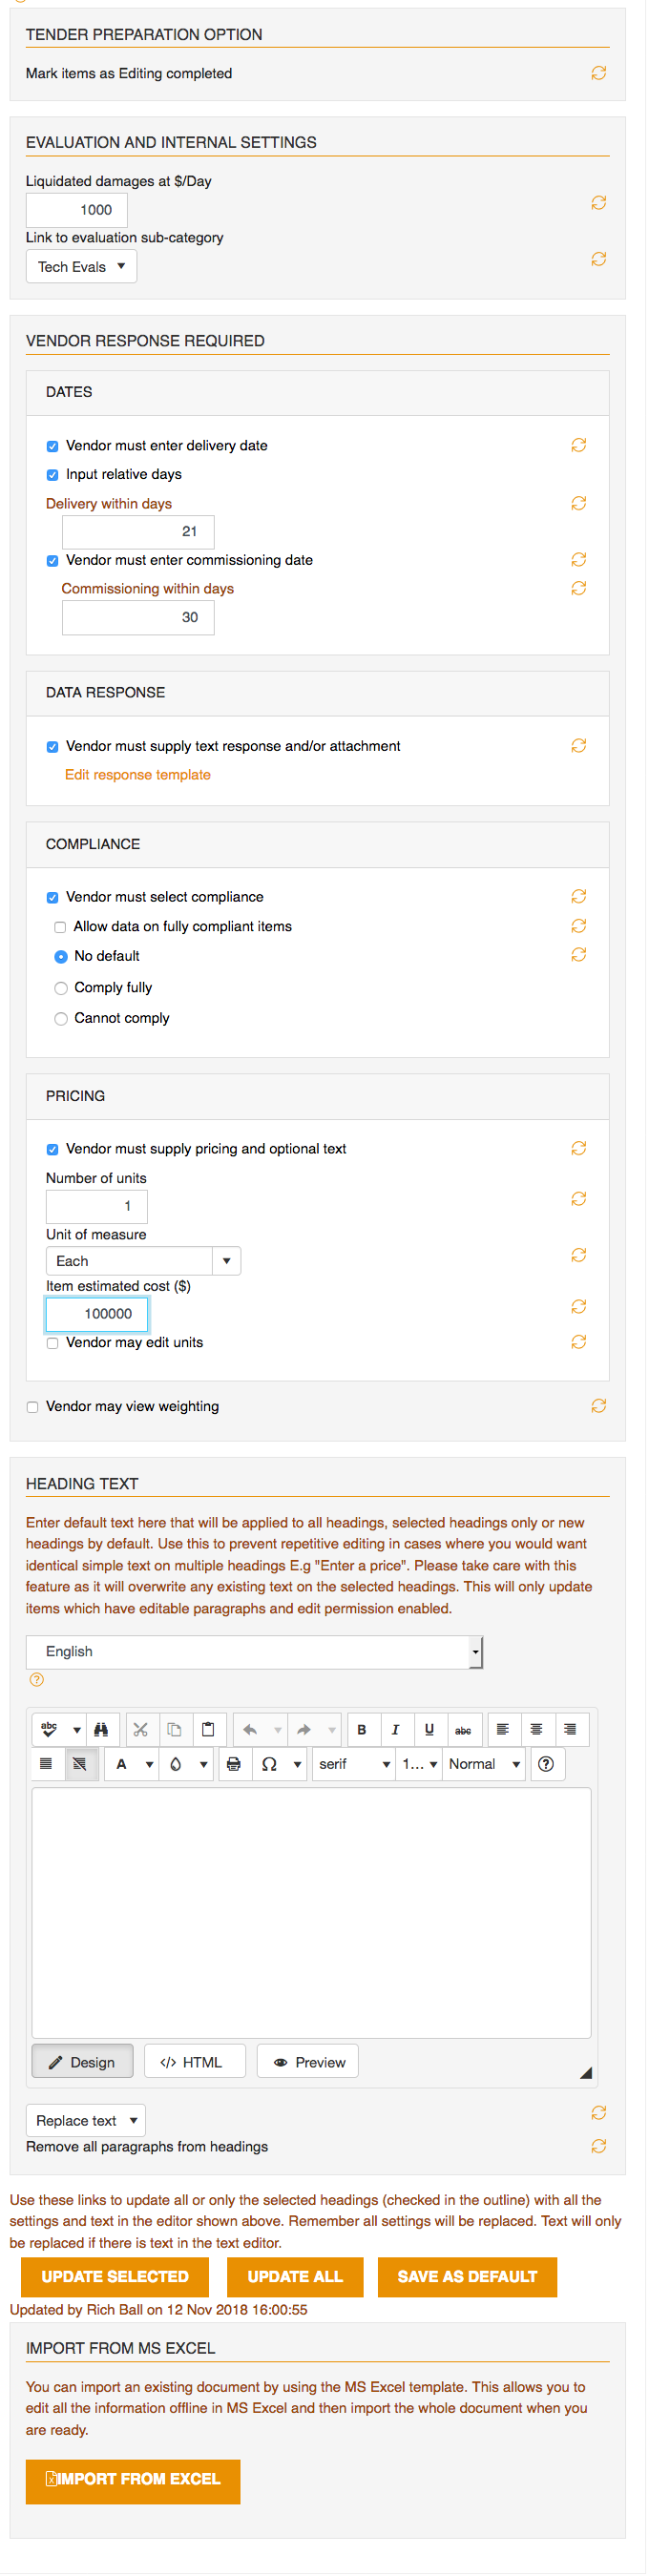
Clicking the settings icon will open the heading properties and allows you to set both internal and external settings to each heading.
This will override any settings that were applied at the document level.
Internal settings:
-
Penalty in £/Day - Allows you to set a penalty for late completion.
-
Edit assigned weighting - When checked allows the user to edit weighting score that is set in the template, if this is not checked then user cannot change the assigned weighting. (Simple evaluations)
-
Max commercial score for this item - Sets the maximum score that can be used when that item a commercial score, if this is not set you cannot give this item a commercial score. (Simple evaluations)
-
Max technical score for this item - Sets the maximum score that can be used when giving that item a technical score, if this is not set you cannot give this item a technical score. (Simple evaluations)
-
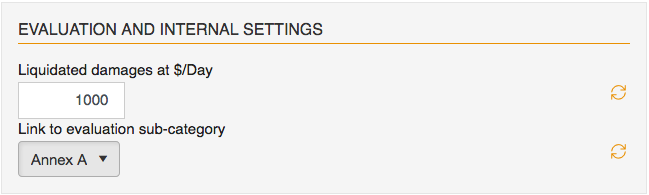
Link to evaluation sub category - Links a heading to a sub category used during advanced evaluations.
(Advanced evaluations)
External settings:
-
Vendor must enter a delivery date - If checked the vendor must supply a delivery date. **
-
Vendor must enter a commissioning date - If checked the vendor must enter a commissioning date.**
-
Vendor must enter a text response - If checked the vendor must enter a response to that item
-
Vendor must select compliance - If checked the vendor must specify if he is compliant with all aspects of the item, ie can deliver within the required date, if the vendor is not compliant they must specify a reason.
-
No Default - There will be no default vendor response
-
Comply Fully - The default vendor response will be set to YES
-
Cannot Comply - The default vendor response will be set to NO
-
Vendor may view weighting - If checked the vendor can view the weighting score for each item.
-
Vendor must supply pricing and optional text - If checked the vendor must supply a price for the item, and can enter an optional text response.
-
Item estimated cost - Set the estimated cost for each heading.
-
Vendor may edit units - If checked the vendor can edit the unit amount.
** The vendor delivery dates and commissioning dates for internal and external settings work independently, if you use the internal settings to specify a delivery date then the user must set a delivery date and the vendor must fall within the specified date to be complaint, if you use the external settings to specify the vendor must enter a delivery date then the vendor just needs to enter a date when they expect to deliver the item.
If your license has the advanced evaluation system module and it is switched on then then then Max commercial / technical score is replaced with the Link to evaluation sub category option for more information on the evaluating vendor responses see the following link.
Viewing modes
iSpec has 2 modes for viewing your document, outline mode and extended view mode.
Each mode works better depending on how the document is setup for further information on document viewing modes please see the submitting your response section.