Adding content with Approval permission
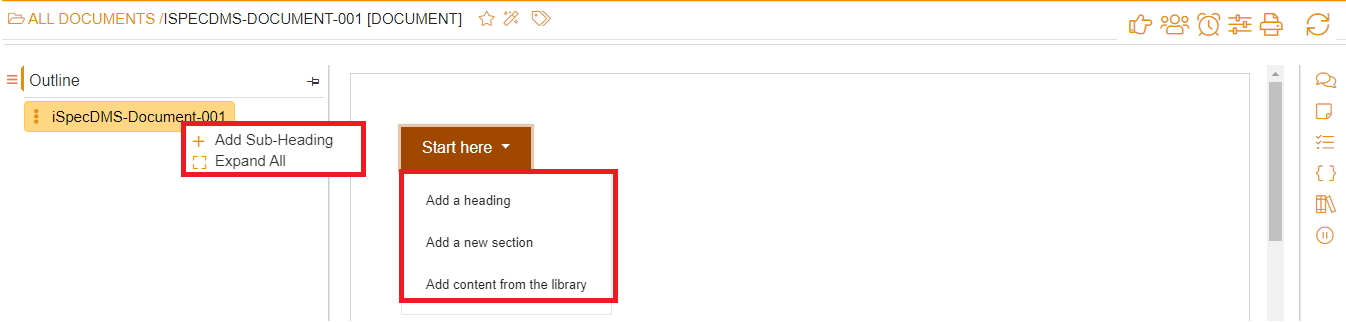
After the document has been created the document overview screen will show.
Depending on if the document was blank or imported will show content or not.
To start adding new content click the Add Sub-heading context menu option or click the Start here button
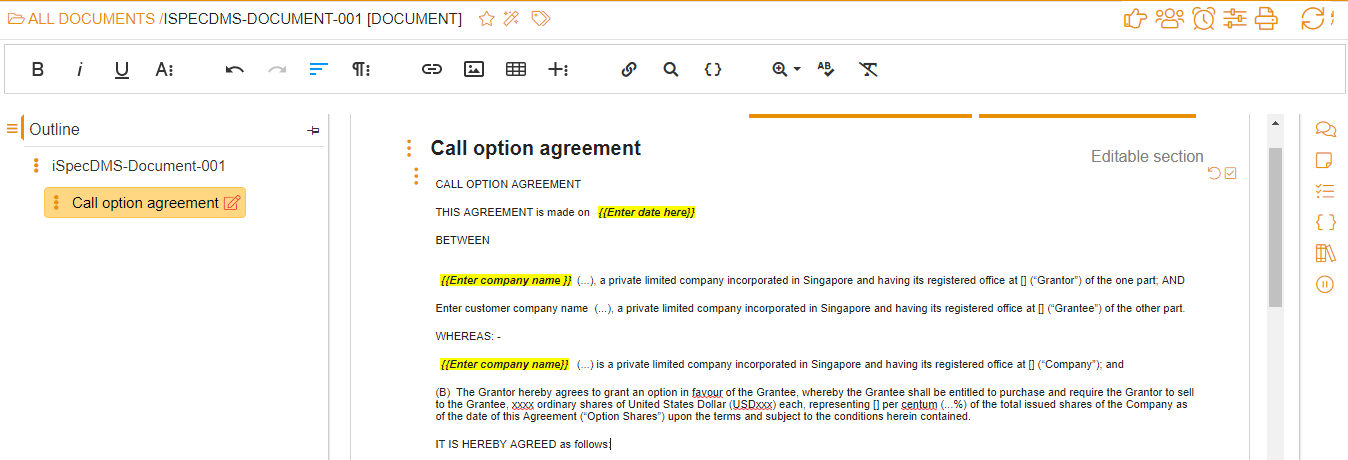
After you have added your first heading either by using the
Outline tree or using the
Start here button the
Start here button will disappear and the
Add a new section icon

will show.
Click the Add new section
icon and add a section and content.
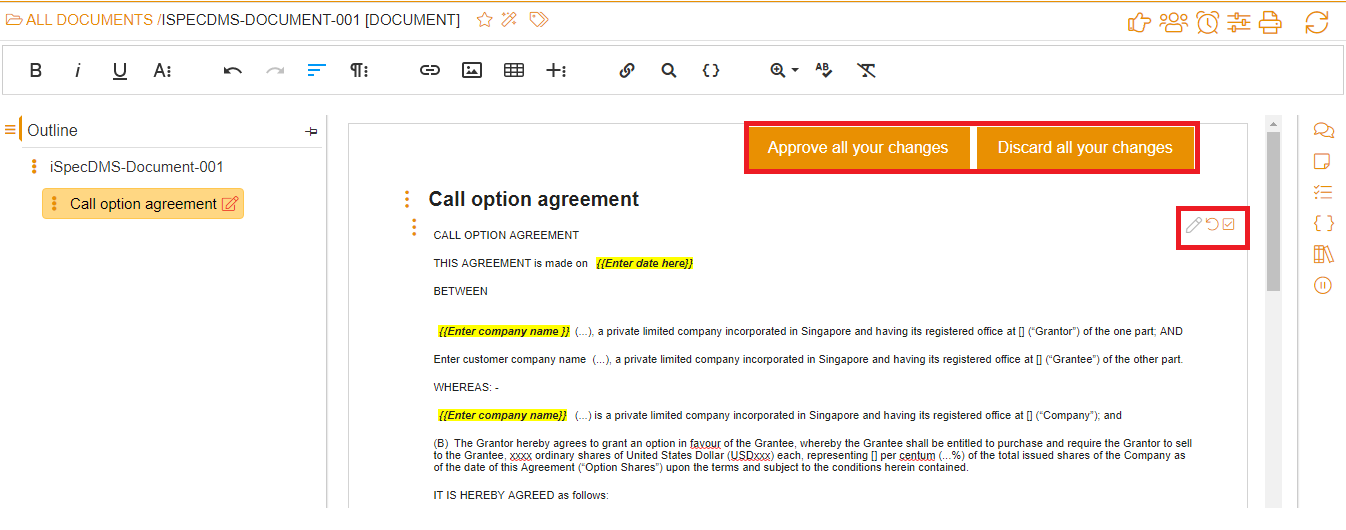
After content has been added the system will automatically save the data. You can undo this at any time by clicking the
Undo 
icon.
The icon will then change to a red pencil

this is to indicate the sections need approving.
Repeat the steps until your document is completed. When the document is complete it can be approved so it's ready for locking.
Note: If the user does NOT have a role with
Approve permission the
Approve icon

or
Approve all your changes button

will not show.
You can approve in 2 ways:
-
Approve individual headings/sections - Click the
Approve icon
to approve the section, any changes made after will need to be approved again.
-
Approve all your changes - Click the
Approve all your changes button to batch approve all the headings/sections in the document.
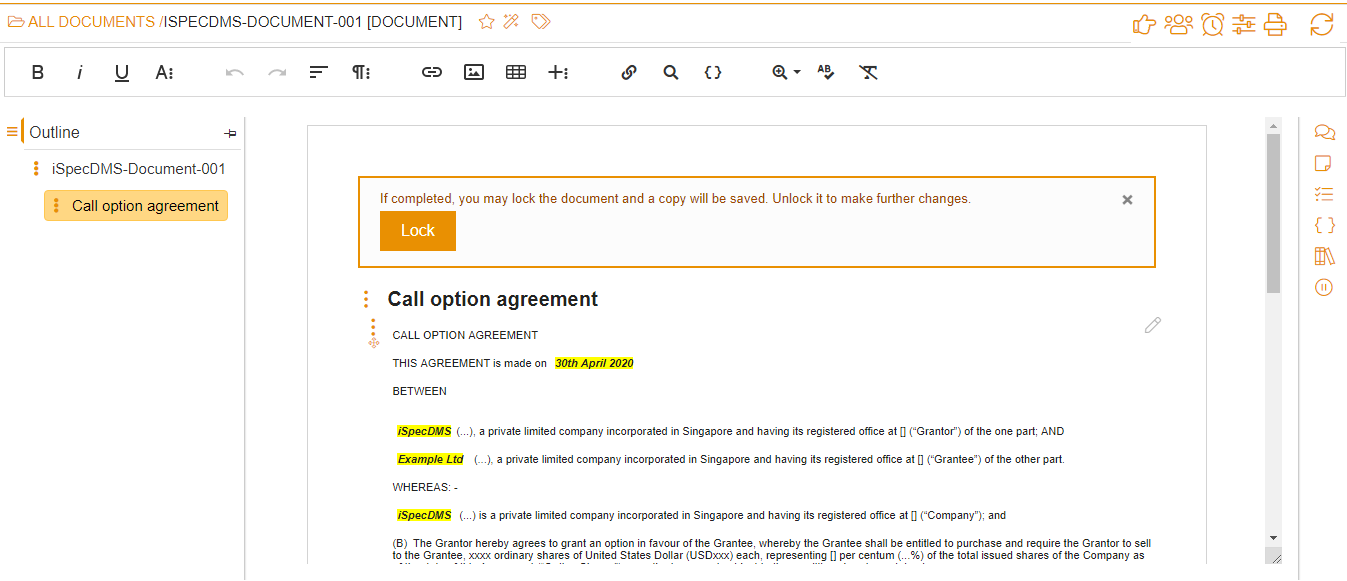
When all sections have been approved the editing icon
in the outline tree and content panel will disappear.
The document is now ready to be locked, reviewed and signed.