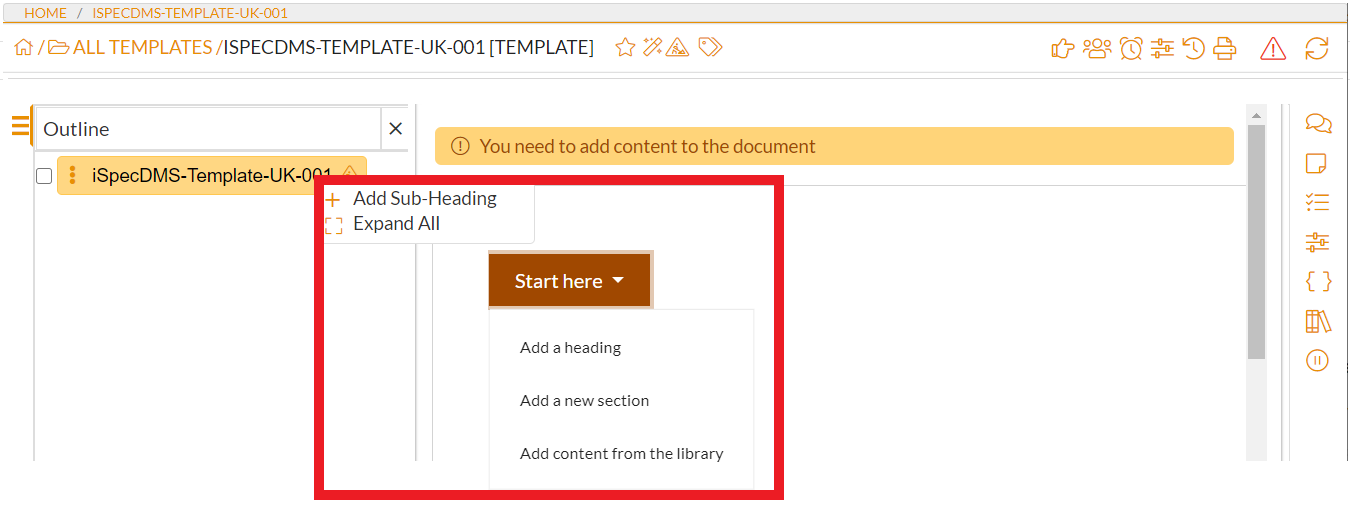
After the template has been created the template overview screen will show. Depending on if the template was blank or imported will depend if the template is blank or has content
To add new content to a blank document, click the Add Sub-heading context menu option or click the Start here button
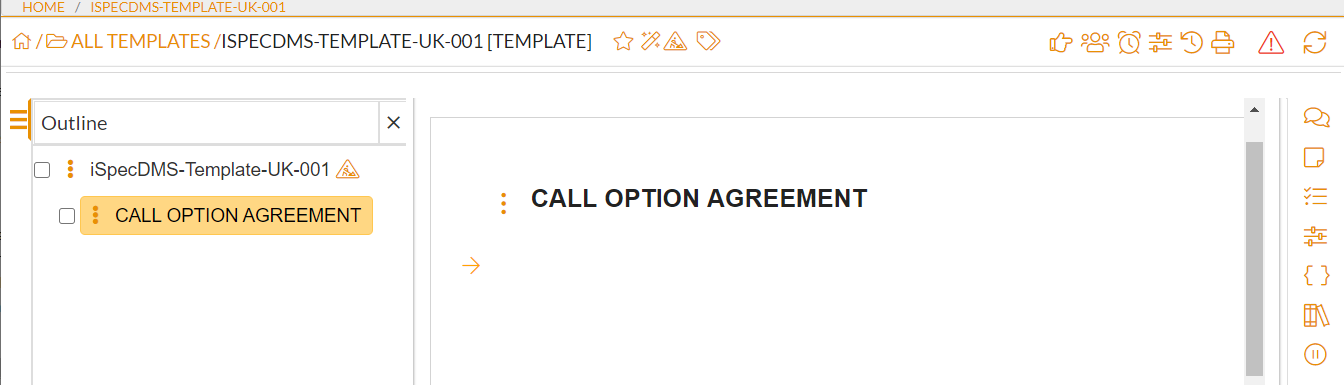
After you have added your first heading either by using the
Outline tree or using the
Start here button the
Start here button will disappear and the
Add a new section icon

will show.
Click the Add new section
icon and add a section and content.
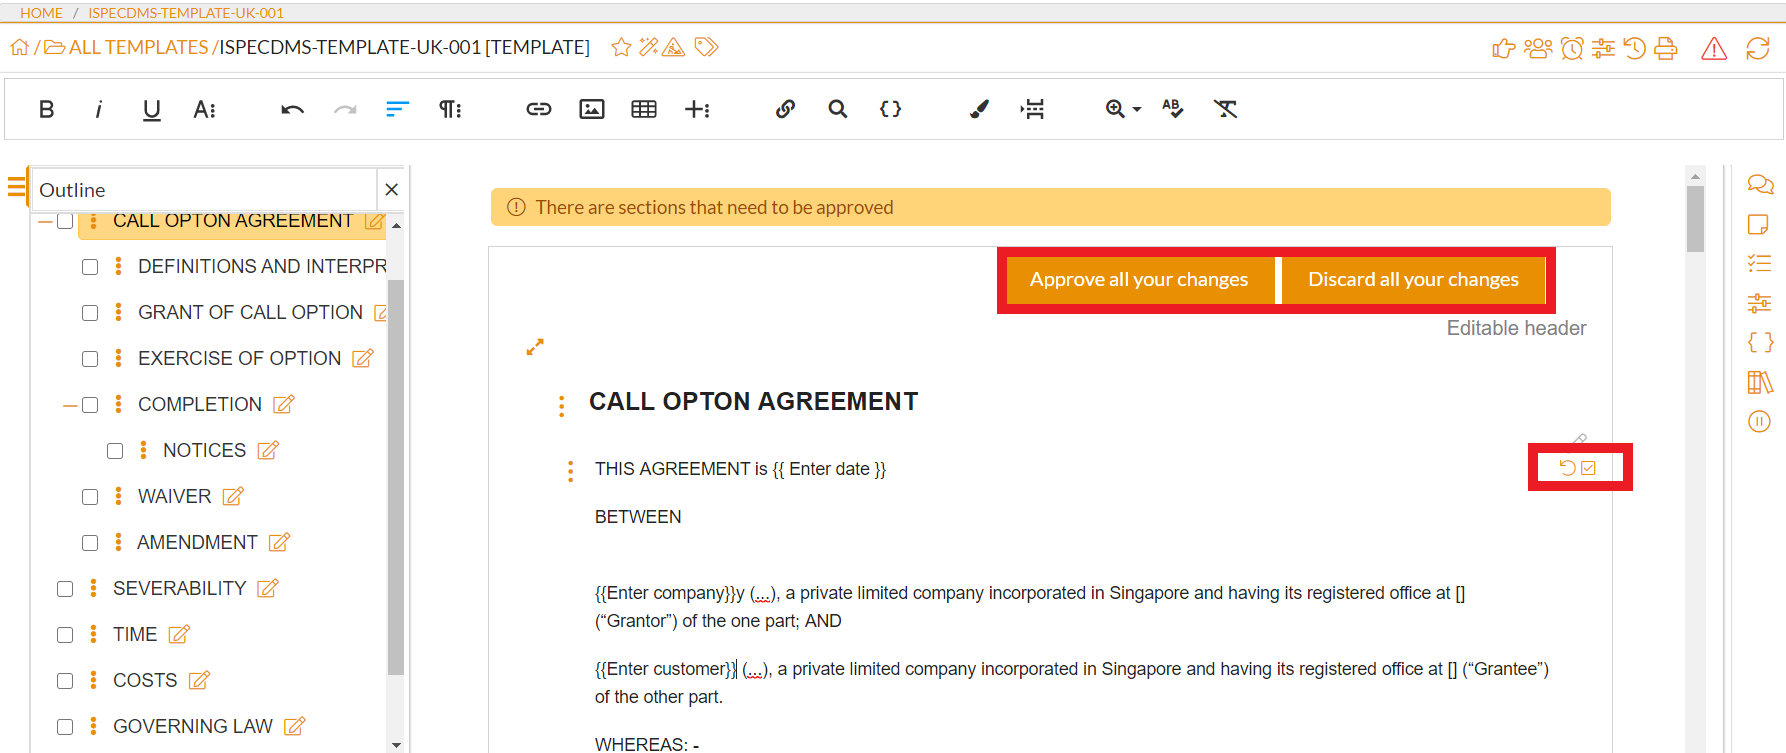
The heading will immediately show different icons next to the heading name.
The

icon is to show that the section is editable
The

icon is to show that the section needs to be approved for use.
The

icon is to show that the section is non editable.
The

icon is to show that the section requires mandatory editing or it must be manually approved.
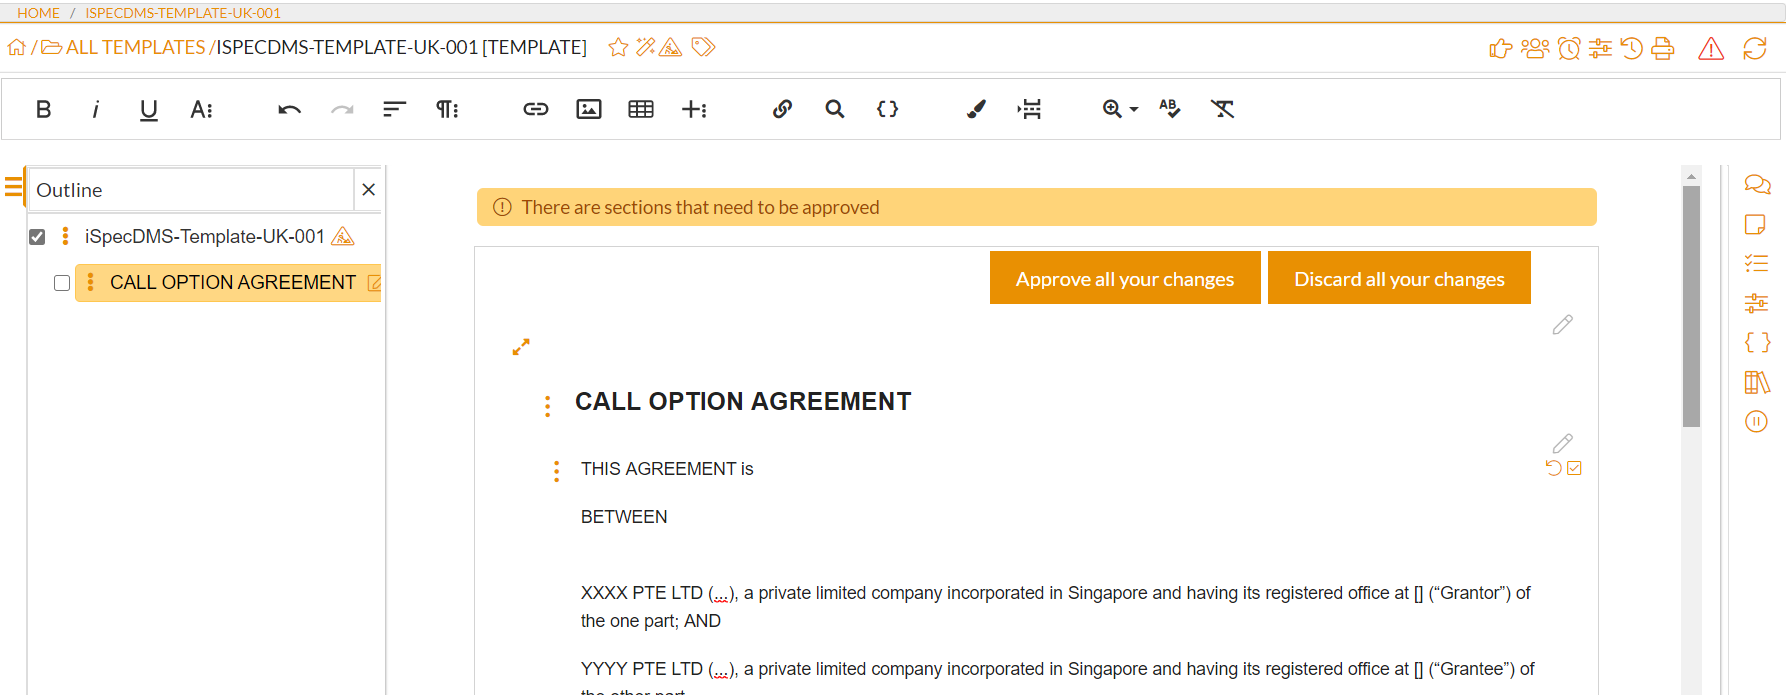
The top of each section will also show if it is

or

After you have entered your content the system will auto save the content. You can undo this at any time by clicking the
Undo 
icon.
Repeat the steps until your document is completed. When the document is complete you can approve and publish the template.
Note: Anybody who has permission to edit the template can approve the template.
You can do this in 2 ways:
-
Approve individual headings/sections - Click the
Approve icon

to approve the section, any changes made after will need to be approved again.
-
Approve all your changes - Click the
Approve all your changes button

to batch approve all the headings/sections in the document.
When all the headings have been approved the template needs to be published so it can be used to create documents.
Click the

button
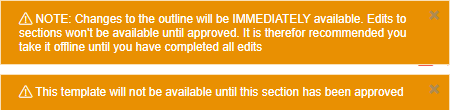
When the template has been published users can still edit the template, but the new edited section will not be available until it has been approved.
A warning bar will show at the top of the template.
It is recommended that the template is taken offline until the template has been edited and approved. To do this click the
Take it offline link or the
Unpublish button
 .
.
If any new sections or headings are added while the template is published it will automatically be taken offline and a warning will show.
It will not be available until the changes have been approved and the template published again.
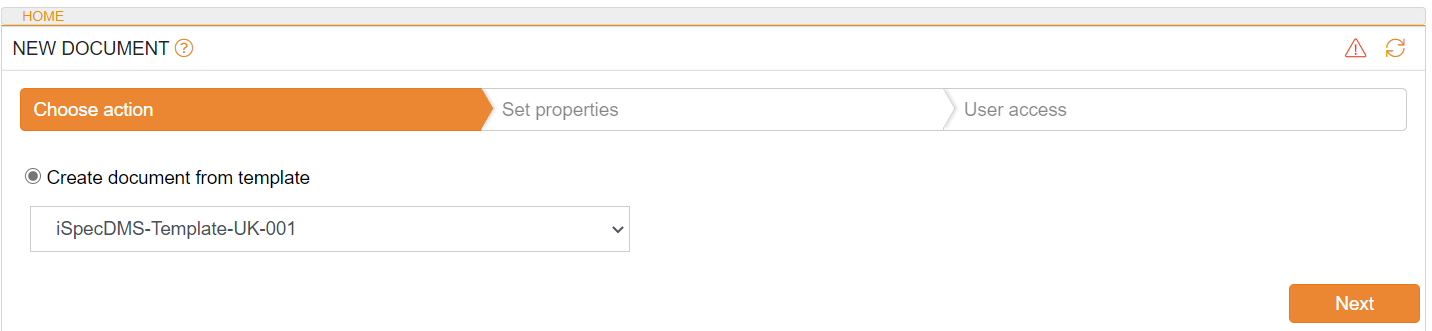
When the template has been published the users can click the
Use now button

to create a new document.
The template will also be available in the template selector when creating a new document.
Template Editing permissions
When creating or editing a template the user must have permission to edit the template document.
By default when a new template is created the user will be assigned as the Section owner on ALL sections they create.
However they will still need a User role which has Editing permission on the selected document type otherwise they will not be able to add new headings or sections.
Below is a summary of the different permissions for editing a template document.
-
If the user has a
Template role which has
Edit permission they will be able to add/edit/delete headings and sections. (Full editing rights)
-
If a user doesn't have a
Template role with
Edit permissions but is a member of a user group that has Add/Edit permission on the
Section library they will be able to edit any template section but cannot add new headings or sections.
-
If the user doesn't have any of the above permissions they will only be able to edit sections which they are the owner.